Brief Description: Produce Small Scale Prototype Of Blister Plug
In CAD, I took the new blister channel surface plane and converted it to a body by giving it thickness. I then extended the underneath side of the body down several nches and created a solid base which held the surface shape of the blister several inches above the surface it would sit on.
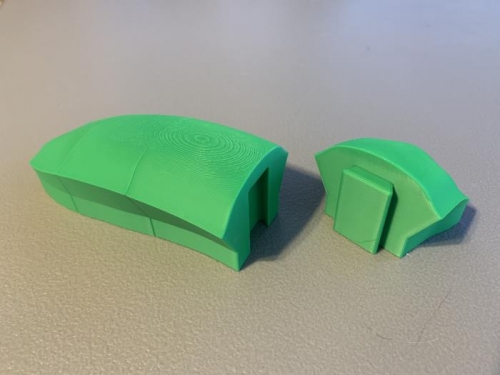
I then had the 1:1 actual size body I wanted to 3D print for the fiberglass mold plug. It was too large to print as one piece on the 3D printer, so I segmented it into four pieces, each of which would fit into the 256 x 256 x 256 mm print area of the BambuLab X1-Carbon filament printer. The segments were given male or female dovetail comonents allowing the segments to be rejopined after being printed to the action size.
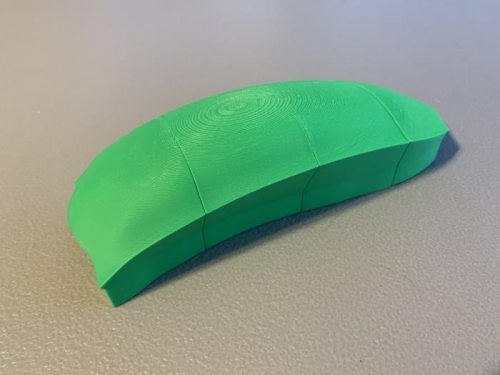
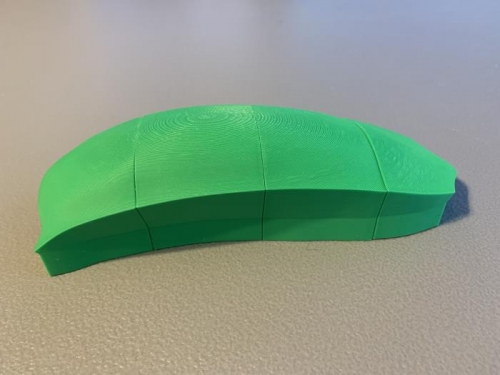
To verify this before printing the full size segments, a scaled-down version was printed to test the segment assembly. I produced a working test at approximately 7 1/4" long.
The prototype worked perfectly.
View of 4-piece 3D printed and assembled blister channel "plug".
View of 4-piece 3D printed and assembled blister channel "plug".
The interlocking dovetail joints used to assemble the four printable segments of the plug.