
|

|
|
|
CHUCK'S WEB SITE
|
Date: 6-13-2023
|
Number of Hours: 2.20
|
Manual Reference:
|
Brief Description: Installing the ELT Antenna
|
|
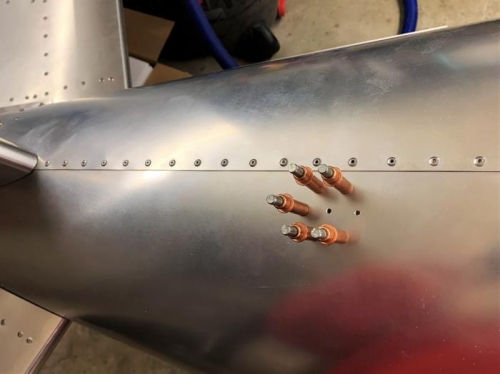
Cut a 2 inch round doubler plate from 0.032" sheet stock, with a 1/8" hole in the center, and 6 evenly spaced holes around the center hole. Slightly rolled the plate to have approximately the same curvature as the top of the turtledeck at the mounting point.
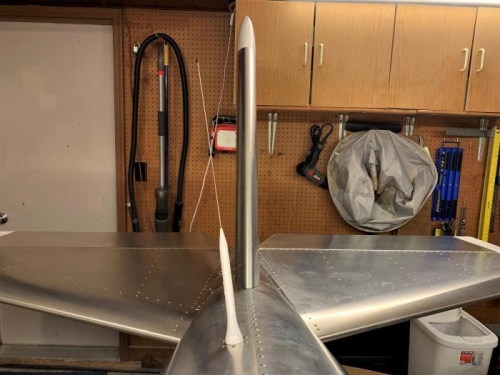
Located the desired position for the antenna, staying as close to the center seam as possible, without overlapping onto the seam construction on the inside. Also ensured the antenna was far enough forward of the vertical stabilizer that rearward wind deflection would not cause antenna contact with the vertica stabilizer.
Positioned the doubler plate for flat contact and the desired hole pattern position, and match-drilled the center hole into the turtledeck surface. Clecoed the doubler plate into position with the center hole. Then carefully drilled on other hole. Once this hole was clecoed, the plate would not rotate out of position. Drilled and clecoed the remaining matched holes in the turtledeck.
Removed and deburred all holes, reassembled with clecoes, then riveted all six outer holes to secure the doubler plate.
Updrilled the center hole to the specified diameter, then deburred the opening, and mounted the antenna.
NOTE: I only used a 2 inch plate due to the strength mounting so closley to the reinforced backbone of the turtledeck.
|
|
Deburred and clecoed doubler plate, ready for final rivetting.
|
|
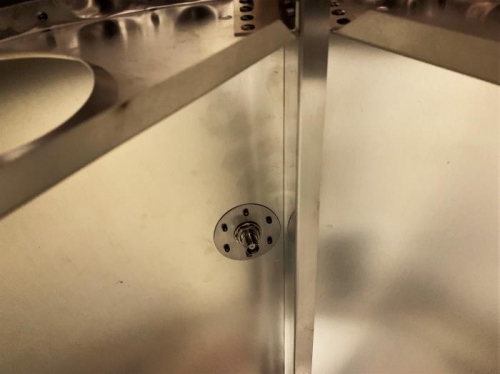
Antenna mounted slightly off-center of the centerline due to the rivet-line of the turtledeck.
|
|
Interior view of the antenna mounted on the 2 inch doubler plate.
|
|
|
|
|
|
|
|
|
Copyright © 2001-2024 Matronics. All Rights Reserved.
|