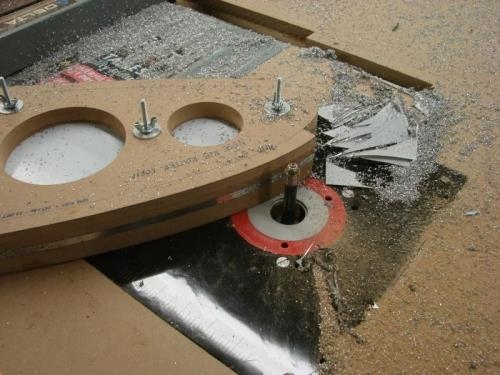
I drilled the jig holes in the nose rib blanks today and put them in the routing jig. I sandwiched ten blanks to start with, tightened them down real nice like, Then I ran the outside edge through the router with a laminate bit installed on it.
Man, talk about a lot of metal shavings everywhere! But it went fast, and the edges were super smooth. If any is required at all, deburring will be minimal.
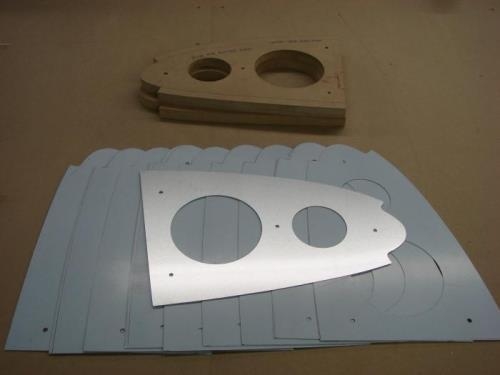
I drilled a couple of starter holes in the lightening holes with a 1/2" drill bit, staggering them so the holes overlapped. I needed to get that big laminate bit through the hole. After the first round, a fellow builder suggested that I use a step drill (Unibit) to get a large single whole. Great idea! I went to the aviation section of Menards and purchased a 7/8" Unibit, and that's worked perfectly for the remainder of the ribs to date.
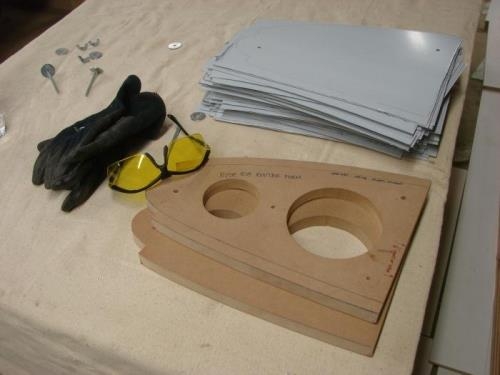
Starting with a stack of blanks
Routing the edges first, followed by the lightening holes