
|

|
|
|
Chris Owens - Bearhawk
|
Date: 1-14-2012
|
Number of Hours: 8.00
|
Manual Reference:
|
Brief Description: Center Rib Punching
|
|
I spent a good portion of the day casually punching and drilling holes in the center ribs, aft ribs, flap ribs, and aileron ribs. When I did the nose ribs, I drilled each rib individually, right through the form. After you do 93 of those, the holes get a little bit widened out. It's been suggested that one epoxy a chunk of tube in the hole as a drill guide/bushing. I didn't have any tubing that small, so I just went with it. It turned out fine.
On the center and aft ribs, I thought I'd try something different. Instead of drilling through the form, I clamped a sheet of metal in between the two, then used a 3/16"" wood screw, inserted it into the hole, and then struck it with my mallet. This prepunched a little hole for me, as well as put a little dimple into the metal that my drill press nicely self-centered on. The parts went on and off the sandwich much more smoothly and without as much trouble as the nose ribs sometimes had.
Why a wood screw? Why not a punch? Well, I punched through 3/4" MDF via a 3/16" hole. I have one punch, but it wasn't long enough, and I have three nail sets. One of them was skinny enough to go through the hole and reach the metal, but it has a taper shoulder, and you couldn't guarantee it would center in the hole. The wood screw has a square shoulder (same diameter all the way up the screw), so the point was always centered in the hole. Worked great!
Then I spent a few more hours drilling all those little buggers out with the drill press.
|
|
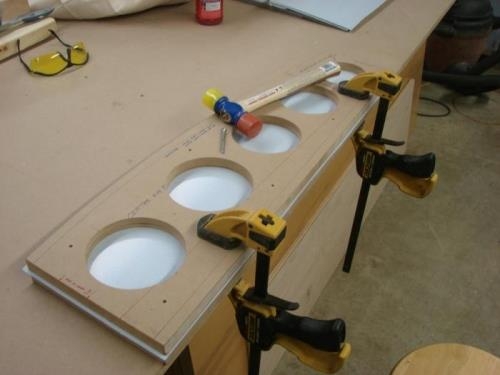
Clamp the sheet between the form boards.
|
|
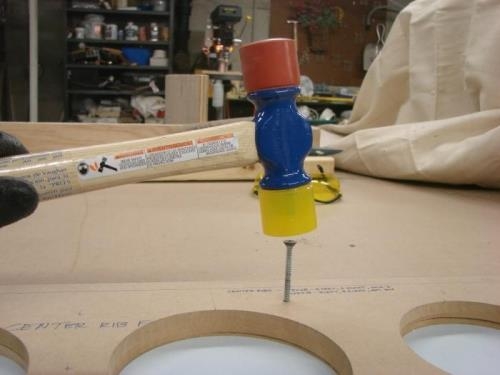
Place the screw in the hole, and give it a tap. Instantly centered hole!
|
|
|
|
|
|
|
|
|
Copyright © 2001-2024 Matronics. All Rights Reserved.
|