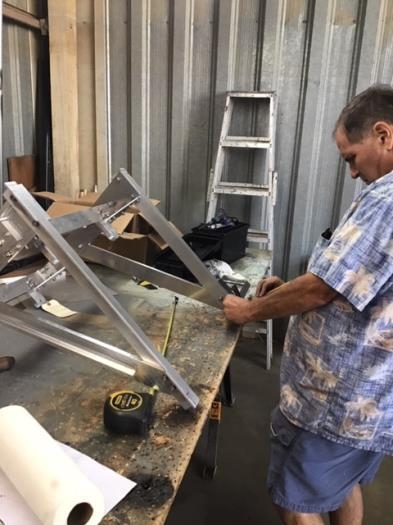
Plans: 1. Engine Mount Fitment. Status. 50% Complete. The mount came without any of the thru-holes for the firewall lugs. So the first order of business was to match drill the holes. Unexpectedly, the width of the mount is wider than requested. So I also need to shave about 1/4' inch off each side. The mount is about 1/4" thick and 2 feet long so doing the cut with the band saw would not be easy. I'm not sure what tool a machinist would use but it seemed a job for a table saw. My Shopsmith saw blades however are intended for wood and not for precision work. Nevertheless it was available. A special aluminum cutting blade was installed into the Shopsmith. It worked beautifully and produced a shower of AL chips.
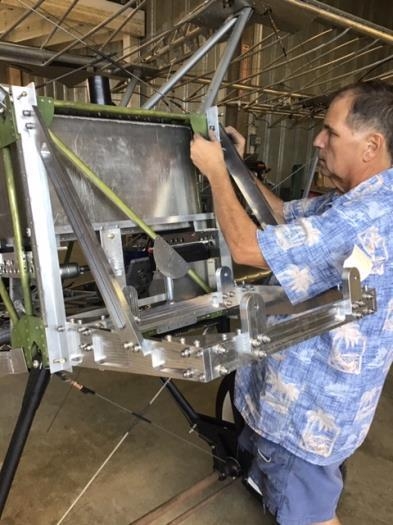
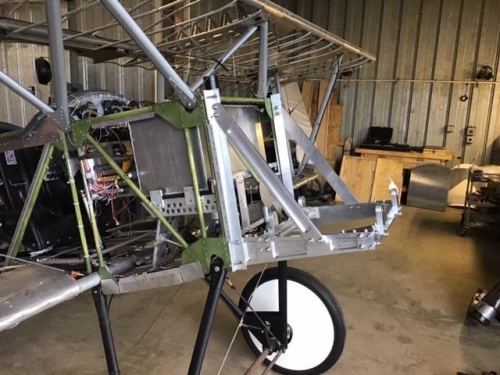
Locating the holes was a challenge and I almost mis-drilled them by simply measuring things. The successful approach was to make a template for each hole then transfer the hole's location to the mount. That way any error was only to the template. Last I installed the mount to the furelage. It looks good but I am a little concerned that the leading edge will interfere with the paneling. The angle appears a little off. I won’t know if the fit is good until the engine is in place. If I need to adjust things new AL angles at the firewall will need to be substituted.