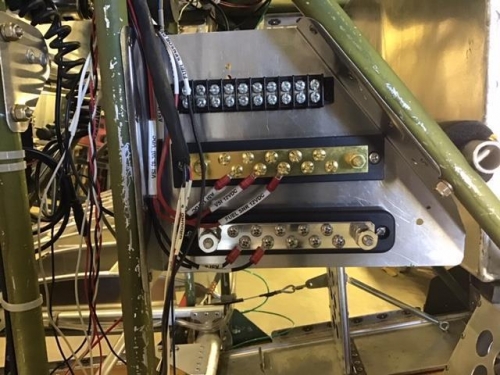
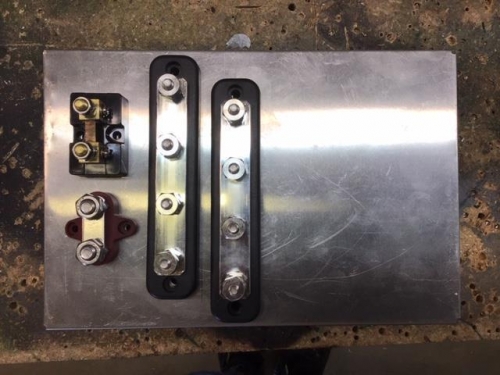
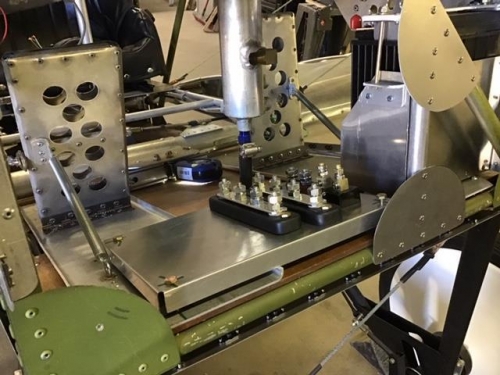
Plans: 1: Hook up the junction panel. Status: 5%. Unfortunately I didn't get very far hooking things up today. I almost immediately ran out of label tape for the DYMO label maker tool. Without labels I couldn't attach the terminals. So I moved on to mounting the Battery bus instead. I had many of the parts in-hand. The Main bus will be switched from the instrument panel Main switch. The engine starter is switched on via the starter solenoid using the ignition switch. 2. Fabricate the Battery bus. Status: 50% complete. This bus is located on the floor near the battery. This was done to keep the leads short. I will also need to make a cover to provide some protection. Starting the engine places the most demand on the battery so bus bars were sized to handle high currents. Aeromomentum does not recommend switching the buses via a solenoid but directly through the instrument switches. So the only solenoid in the system will be for the starter. The floor being an uneven surface required me to create a chassis to mount the bus bars and current shunt. Some space was allocated on the same chassis to mount the FADEC module for the engine. I don't have it or the harness yet so it might turn out that the location won’t work. Unfortunately the engine is very late and is now impacting progress.