Brief Description: Antenna Mounts and Baggage Window
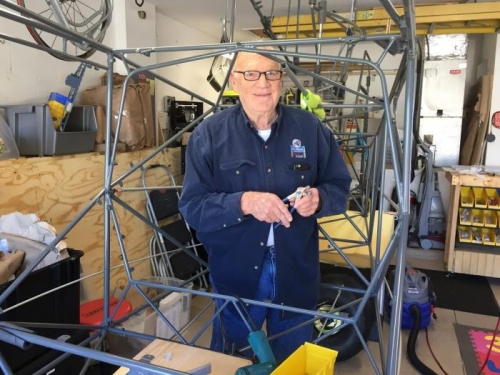
What a fun day of working on the airplane with Dad. The EAA workshop over the weekend paid huge dividends for both of us.
We started with the Comm Antenna Mount. The only suprise from the instructions was that I couldn't get the drill at the hole in the forward tab. We drilled both outside tabs per the instructions and marked the forward tab. I then removed the mount and drilled it on the drill press. When I put it back, I was able to use the drill hole in the mount plate to drill up through the tab. No problems. Worked great and this was the first rivets we installed on the plane.
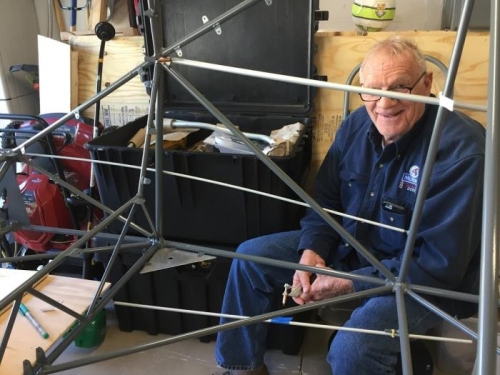
The ELT antenna wasn't quite the same shape as the corner it sat in. I fit it in the best I could knowing that it didn't have to be exact. The inboard forward corner was a bit close to the fuselage, so I trimmed it back with the Dremel. I kept the mount Clecoed in so I can prime the bit of aluminum that I trimmed. Again, no big suprises with this install.
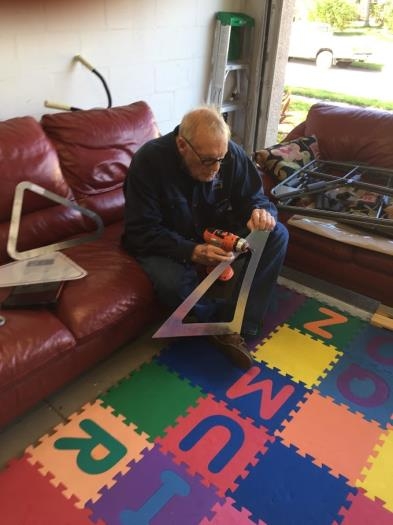
The baggage window frames went in as per the instructions. The lesson learned here is to start drilling in the aft portion of the frame and work forward. You could also work front to back I imagine. I started with two middle tabs, one on the bottom and one on the top. After I drilled and Clecoed the third tab, I noticed a slight bulge where the frame was not sitting flush with the frame. I fairly sure I could have avoided it if I would have started at the aft end and worked in one direction.
That was a subtly a great moment in the build. This wasn't perfect, but it didnt' bother me. I was really enjoying working with my Dad and a bit of personality in the plane only serves to point out the great time we had.