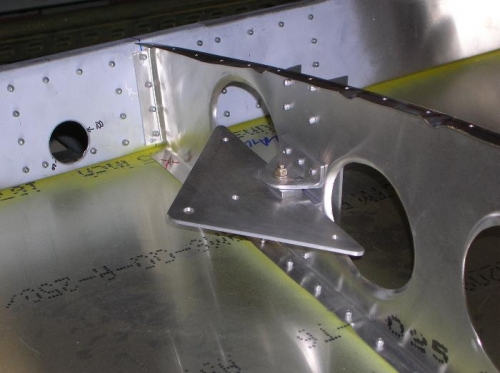
After the AP/IA inspection of last wee. I again addressed the assembly of the Right Wing. I Turned the bottom up and spent considerable time addressing the exact level and squareness of the assembly then positioned, clamped, and pilot drilled the bottom skin. After again checking level/square and being satisfied I drilled the pilot holes out to full size and checked all again. I then installed the rivets in the bottom skin - to ribs and 1/2 of the rear spar - being careful to not rivet the Flap section as the hinge must be installed with those rivets. Satisfied that it stayed square and level I turned it back over and checked the square level reading from the top. Right on the money. I instaled the Bell-Crank and drilled the rear Spar for the Aileron shaft. I followed advise from the Zenith Matronics List members and re-enforced the bottom of the hole with a length of "L" modified to match the hole opening.
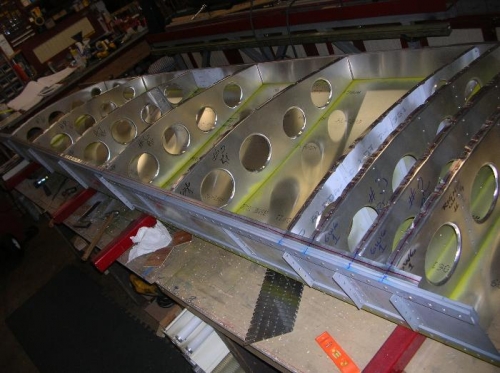
Wing with Bottom Skin riveted in place and turned back over from root end
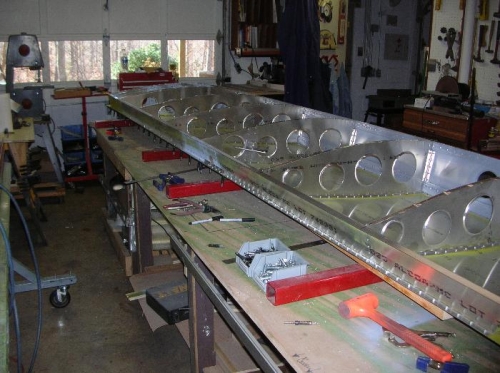
Wing with bottom skin from outer rear view.
Aileron Bell-Crank in place and shaft hole drilled and re-enforced.