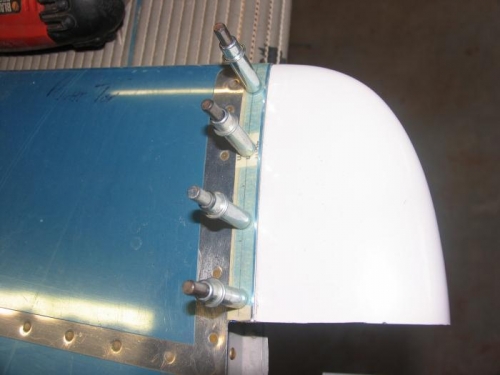
Brief Description: R-HS Tip: Initial fitting and drilling to skin
I measured out four evenly spaced points (1.5" apart) and drilled the HS skin to #40. I then manually held the tip in place, making sure that it was as snug as possible, especially at the leading edge and then drilled the leading edge most hole useing the holes drilled in the skin as pilot holes. Clecoing that hole, I moved onto the next - repeating theprocess for each hole and again for the bottom side pf the HS.
I had previously trimmed the HS tip to length using the tabs of the skin as trimmed for guidelines.
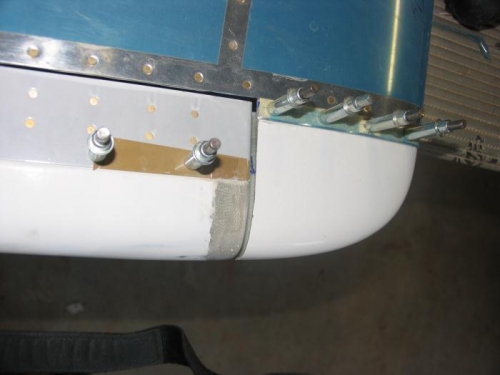
The HS tip actually doesn't fit very well at all compared to the Elev tip so far - The cleco's actually do a good job o fpulling it apart but at first glance, the leading edge radius is going to need quite a bit of work. That said though, the lines of the HS tip and the elevator tip do however seem to flow together quite well
Next will be a glassed over "rib" on the trailing edge of the HS tip.
HS Tip trimmed, drilled and cleco'ed into place
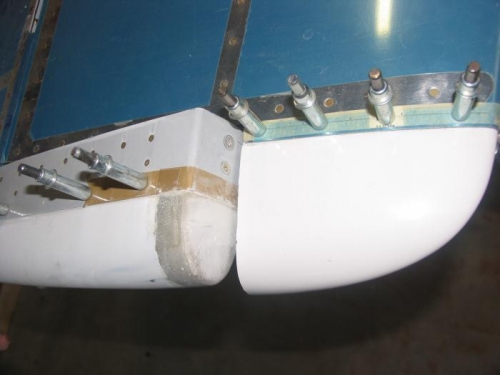
Lines from HS Tip to Elev tip flow well - only minor work needed
Good, consistent clearance between tips in full range of movement