Brief Description: L-Elev: Rivet skin to understructure and Trim Tab
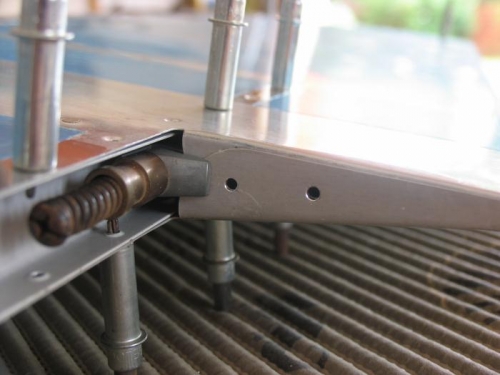
I started by cleco'ing the whole structure together and drilled two holes (first #40 and the to #30) through the inboard elevator (folded) tabs and deburred them with the Cogsdill deburrer (works great as you can deburr the inside part of the skin without actually being able to physically access it). I then disassembled everything and dimpled each of the tabs individually using the pneumatic squeezer (needed to fold the skins open a tad to part the tabs and fit the squeezer yolk in but it was actually no biggie).
As per the right elevator, I then put some Proseal on the inner trailing edge at each of the stiffeners. I used the same method as previous occasions and once again, it all went pretty smoothly and quickly.
I then rivetted the counter balance skin to the elevator skin (just the two rivets per side as per Van's instructions) to eliminate the need for blind rivets later. I cleco'ed the whole structure together again making sure that the counterbalance was put in place in advance this time round (MUCH easier! ;) ) and started rivetting the skin to the main spar. I completed all the 3-3.5 rivets as per the rivet callout which minimised the number of times I needed to re-adjust the pneumatic squeezer. I then did all the 3-4 rivets including the trim tab hinge to the forward trim tab spar and then the two 3-4.5 rivets - all with the pneumatic squeezer. I then changed to the no-hole yolk and squeezed solid rivets in the trailing edge of the outboard rib. I then pulled the blind rivets which attach the elevator skin to the forward trim tab spar and finally pulled the two CS4-4 rivets in the inboard folded elevator tabs.
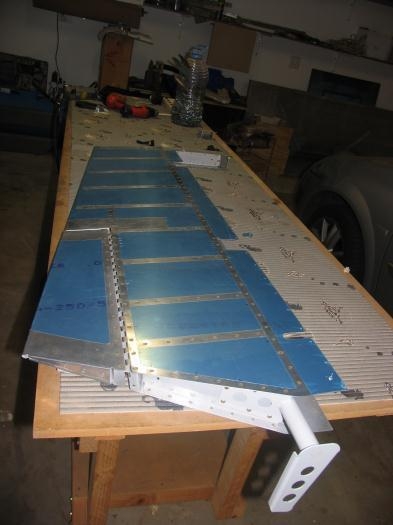
Blammo - left elevator all clased up with the trim tab installed - looks great and all alignment checks out perfectly!
Folded inboard elevator tabs with #40 pilot holes drilled - ready to be drilled to #30
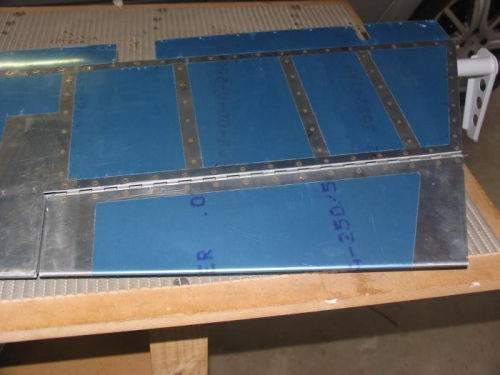
Trim tab attached and allingment checks out fine
Left elevator all closed up - ready for the folding of the leadinf edge.