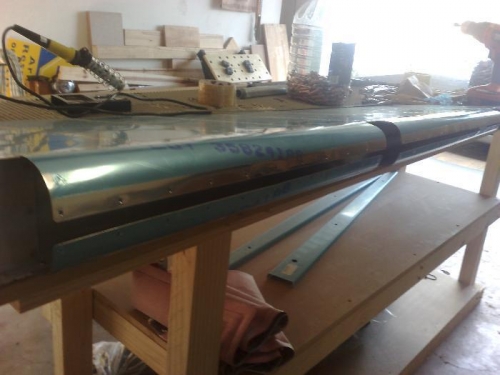
I first match drilled all the holes to #30 and then removeld all the cleco's from the leading edge tabs. Deburring (especially the inside of the skin) was a breeze with my newly acquired Cogsdill Deburrer. Attached to my electric drill, one rotation on ether side of the skin was quite literally all that was needed... any more would be too much in my opinion. I then removed a strip of the blue plastic on the edge of each of the leading edge tabs in preperation for rivetting.
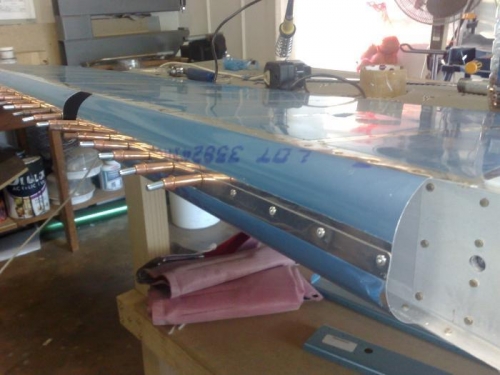
After setting the first pop-rivet, I discovered that the rivets did not pull the two edges together like I thought they would. This meant that I still needed to manipulate the edge of the tabs of the leading edge so that they sat flush together prior rivetting. I removed the one rivet and proceeded to repeat the following process until I was happy with the results: - checking were edges not flush - un-cleco leading edge tab - "manipulate" edges manually - re-cleco leading edge tab over and over until all the edges were sitting completely flush with each other (about 3 iterations of the above process).
I then proceeded to pop-rivet the leading edge tabs together starting from the bottom and then moving one at a time towards the top (not that the sequence should make any difference though.)
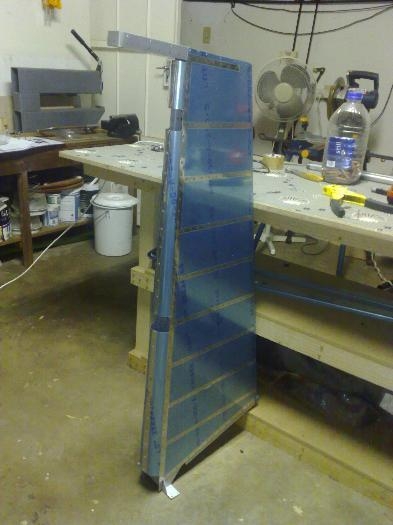
Once I had riveted the whole leading edge together, I re-attached the lead counter-weight balance to the top rib. I was going to attach the hinges and mount it to the Vert. Stab (Just gotta see what it looks like! ;) ) but it was getting late so I decided to call it quits... will do it when next I have a moment or two!
Manipulating the edge of the tabs for better fit
Pop-rivetting the leading edge tabs together
Leading edge and thus most of the rudder completed