
|

|
|
|
Gary's RV8 Construction Log
|
Date: 9-5-2010
|
Number of Hours: 1.50
|
Manual Reference:
|
Brief Description: L F/Tank: Drill W423 Joint Plate
|
|
I noticed at the beginning of the weekend that the screed around the expansion bolts holding the on side of the one wing stand (left inboard) in place was crumbling and that the stand was now capable of moving a good 5 cm from side to side when measured at the top. I didb't want to continue building whilst this was possible so I focussed my energies on repairing this first before continuing.
Unfortunately, this ate into most of the "building time" I had planned for the weekend, but at least I did manage to do something.
I needed to drill the fuel tank to the joint plate. I wish I had done it before I took the fuel tank skin of previously as it would've been quick and easy, but no....
Needless to say, I needed to get the leading edge cleco'ed back in place, the replace the fuel tanl skin (once again those awls I spoke about earlier came into good use). I then noticed that, whilst the tank-to-leading-edge seam was perfect, the tank-to-upper-main-skin wasn't as great. Not wanting to drill the joint plate like that, out came the cargo tie-down belts again.
After cranking down on the belts, everything ligned up pretty smoothly again and I proceed to drill the joint plate using the tank skin as a guide. I drilled them straight to #19 without any problems.
I'm rapidly running out of clecos which is hampering my progress now (not enough to start on the right tank). I have another 100 on order but getting them to South Africa unfortunately takes a bit of time. With continue with other items in the mean time.
|
|
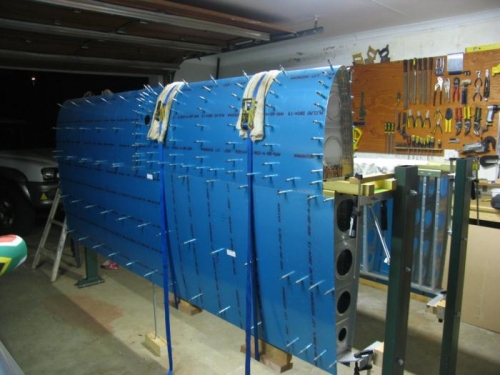
Tank and leading edge back on, readu to drill joint plate.
|
|
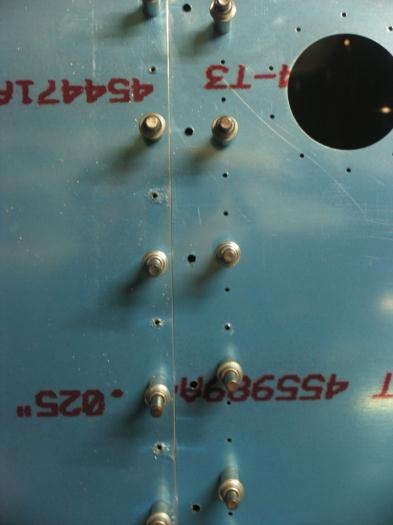
Joint plate drilled to #19
|
|
|
|
|
|
|
|
|
Copyright © 2001-2024 Matronics. All Rights Reserved.
|