Brief Description: Fuel drain and access plate sealing
Today I rivetted the fuel drains onto the tank skin, sealed, and secured the fuel tank access panel to the end tank rib.
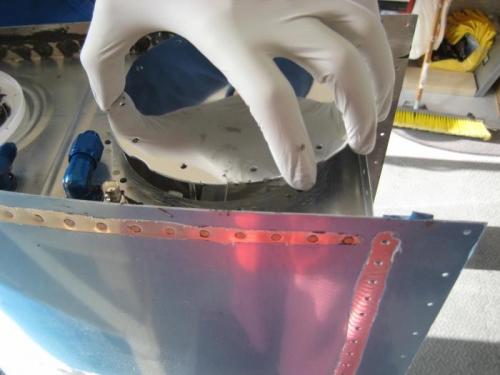
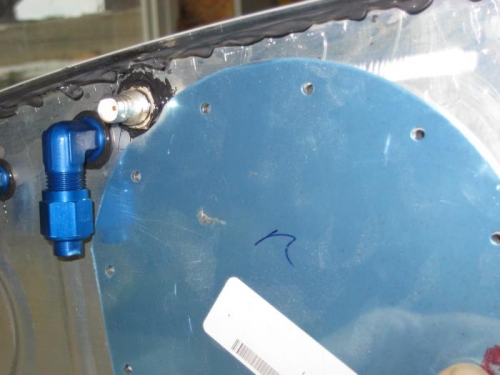
I started by roughing up all the pieces. This included the fuel drain, tank skin, access plate, end rib(under access plate only). I then cleaned all the surfaces with MEK. Next I mixed the sealant, then placed the drains on the skin and rivetted using my deep throated yoke on the pnuematic sqeueezer. Once the fuel tank drain was riveted I moved the access planels. I put a layer of sealant on the access plate then lined it up and placed it on the rib, I then placed four screws in the plate to align it. I then repeated on the other side.
Once both plates were on I tightned opposite screws a little at a time to help distribute the pressure on the sealant. This process was similar to tightening the lug nuts on a tire.
I then backed out the screws enough to put some sealant under the heads. And tightened them down for the final time.
I also covered the shop heads on the drain rivets inside the tank.