
|

|
|
|
Rogers Web Site
|
Date: 7-29-2014
|
Number of Hours: 4.50
|
Manual Reference: 8-13
|
Brief Description: Seat rib assembly
|
|
At this point the plans call for work on the aileron trim work to be started, whether manual, or electic.
I started work on the push tube first, starting with the fork end, my thinking being that If I messed up the fork I should have enough tube left over to cut off the fork end and start again. But i got the fork end right first time, I used the nylon block supplied that will be used in the assembly of the trim unit itself and it gripped the tube very nicely. I used my dremmel, good tool, to cut the fork to the correct size and then used a dremmel stone to smooth the edges.
I clecoed the two aileron trim brackets that rivet to their respective ribs and final drilled the rivet holes in both.
I fluted the bottom edges of the outboard seat ribs, and made sure the rivet holes lined up with a straight edge.
I then clecoed all the fwd ribs to the rear spar attach bulkhead. I then drilled the two bottom holes in the fwd outboard ribs to full size using the #12 holes in the spar attach bulkhead as patterns. I removed the fwd outboard ribs clecoed the rear outborad ribs and did the same thing to the rear ribs. I then clecoed all remaining ribs onto the spar attach bulkhead.
I final drilled all the remaining 1/8th rivet holes to full size that were common between the rear spar attach bulkhead and all ribs.
I I layed the spar attach bulkhead and rib assembly unside down on a my workmate, and fluted the left bottom skin so the it curved enough to follow the contours of the unside down ribs.
That was it I called it a day.
|
|
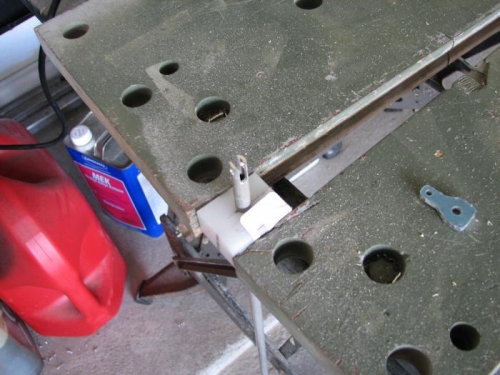
Aileron trim push tube in progress.
|
|
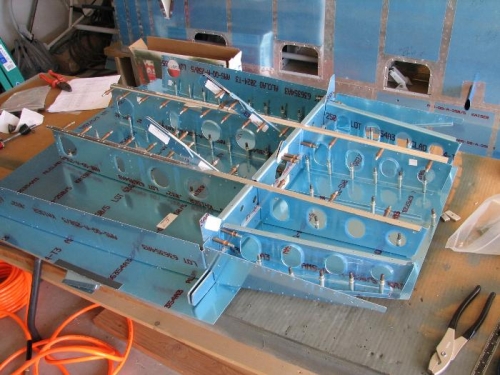
Seat rib assembly, clecoed together.
|
|
|
|
|
|
|
|
|
Copyright © 2001-2024 Matronics. All Rights Reserved.
|