
|

|
|
|
Rogers Web Site
|
Date: 6-27-2014
|
Number of Hours: 3.50
|
Manual Reference:
|
Brief Description: Firewall and associated parts
|
|
Today, I edged all the parts that are being riveted to the firewall. While doing this, I managed to slice my thumb with the edging tool, as it was in the way, just as the tool came off of a piece of ali that I was edging. See the pic of the 'workshop band-aid' a piece of kitchen roll held on with masking tape, works every time.
I then, as per plans, riveted the nutplates to the centre cross piece, and one of the uprights (see pic). Then I rubbed down the side of the parts that would be in contact with the firewall and primed them with an etch primer.
I clecoed the parts to the firewall, ready for riveting. Starting with the 4-4 rivets first, I placed a rivet in every other hole, as I had clecos in the rest, and used masking tape to hold them in place.
After riveting about half of the 4-4 rivets, starting from the middle outwards on the cross pieces and the uprights, I started on the rivet line of the top cross piece. Only to mess up the first five of these, I think where I had moved my riveting plate to on my bench, allowed the plate to 'bounce', while riveting, or I missed the plate, so these need to be drilled out and done again. I decided to call it a day. I'll drill these out Monday and finish the riveting then. So far the new fan does a good job.
|
|
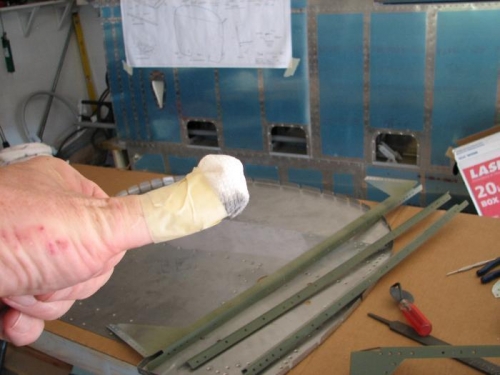
Thumb injury. Primed cross pieces in the background.
|
|
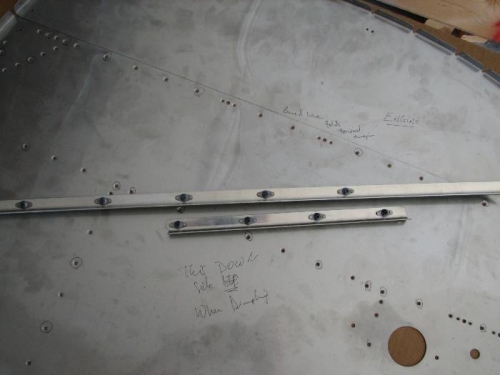
Platenuts on the cross piece and the upright.
|
|
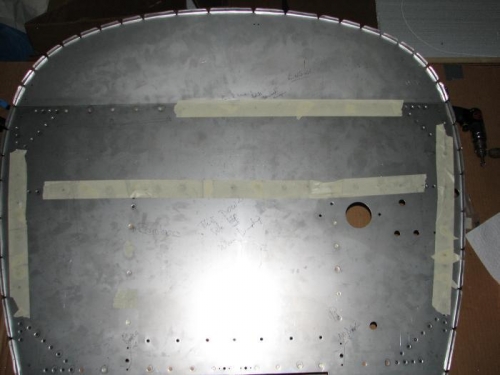
Firewall with some of the riveting done. Clecoes are on the opposite side.
|
|
|
|
|
|
|
|
|
Copyright © 2001-2024 Matronics. All Rights Reserved.
|