
|

|
|
|
Rogers Web Site
|
Date: 5-16-2014
|
Number of Hours: 2.00
|
Manual Reference:
|
Brief Description: Pitot mast
|
|
The pitot mast arrived yesterday. So that gave me an excuse to go back into the garage and do some more work on the wings. As they're mostly done now things have slowed a little.
I had to retrim the paper gauge supplied as the front edge wasn't perpendicular to the long axis.
I taped the paper template to the starboard wing and marked the cut out line for the mast onto the wing skin. I first drilled through with the hole cutter and then went around the edge with a much smaller drill bit, giving me an outline. I cut around the edge as much as I could with a small pair of tin snips, and then slowly opened the hole up to the correct size and shape using a small round hand file, all the while trying the mast for size. I used a centre punch to mark the skin for the two rear rivets. When the hole was the correct size and shape I put the mast through and checked for straigthness, everything looked ok. So with the mast through the skin and with it on a bench, drilled the two rear rivet holes, clecoing them and then drilled the three front rivet holes. I know the plans call for the pitot to go into the port wing, but I prefer the starboard. Why? Because I can :-)
I then edged the wing skin and rivet holes dimpling the rear rivet holes. I edged and beburred the rivet holes in the mast, and dimpled the rear two rivet holes, I also egded the mast mount itself.
|
|
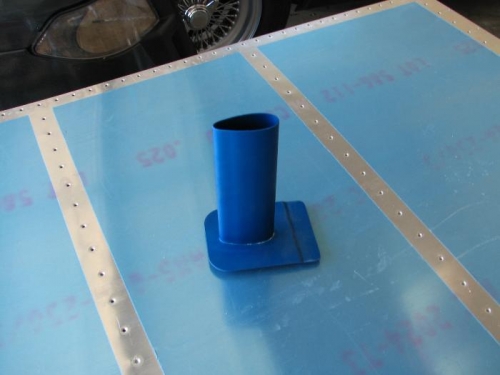
New pitot mast, nice colour.
|
|
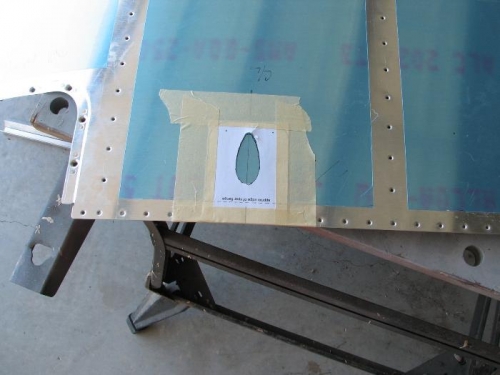
Template on the starboard lower skin.
|
|
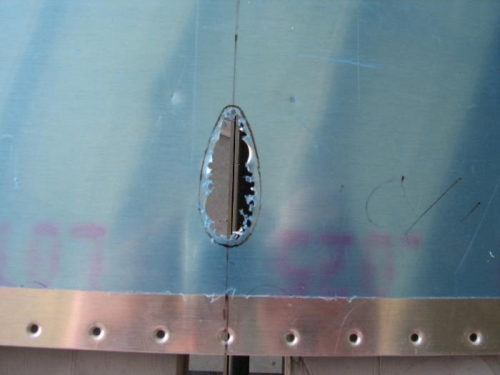
Rough hole just after cutting it out.
|
|
|
|
|
|
|
|
|
Copyright © 2001-2024 Matronics. All Rights Reserved.
|