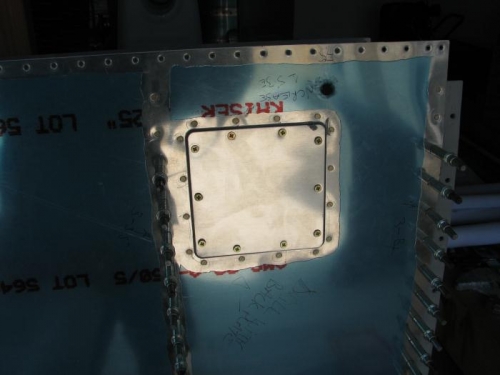
I edged deburred, and dimpled the stall warner hatch frame and inspection panel, priming the same.
I riveted the platenuts to the hatch frame, and then riveted it to the left leading edge skin using a hand squeezer. I then losely screwed the cover to the hatch frame, the screws are not tight.
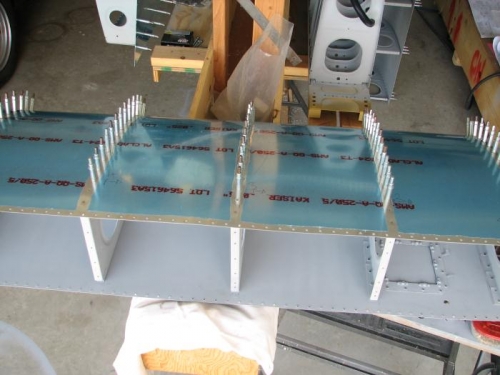
I riveted the first two rivets to the ribs/skins on the upper and lower surfaces. These were the only rivets my hand squeezer could reach so I'll finish off Thursday. Hopefully the rest will look just as good.
I'm not going to use the stall warner that came with the kit, as I want to go AoA. So I'll just rivet the stall warner holes to block them, it's a shame my C-frame dimpler flattened the leading edge slightly where there are two rivet holes close together but that can be corrected later.