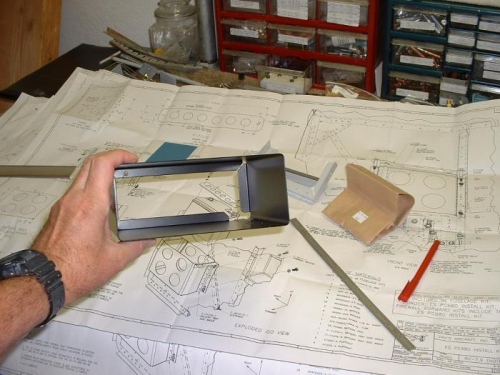
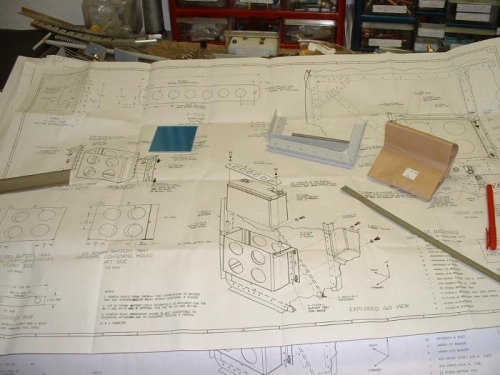
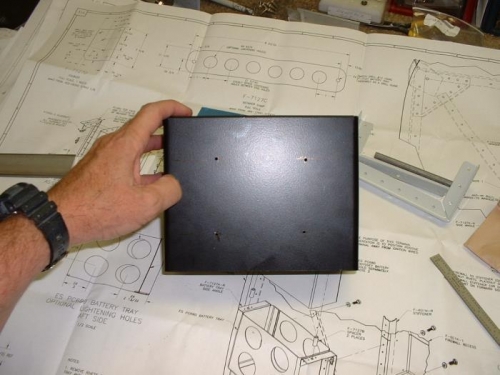
Yesterday I received my ES PC680 battery installation kit and some of the NAS rivets I ordered from Van’s. I started out trying to cut the lighting holes in the battery box. I used my fly cutter but the box being made of steel just ate the crap out my cutter. I had another fly cutter I tried, but again the cutter lost the battle. I guess I could use my Greenlee knockout punch but the largest I have is a 1-½ inch diameter. The plans call for a 2 inch lighting hole which is optional so a 1 ½ would be fine…just wouldn’t save as much weight. The problem is that the 2 inch cut I was trying to make with the fly cutter left a groove in the otherwise nice black powder coated finish. I have decided that tomorrow I will go to Home Depot and see if they have anything to cut the 2 inch holes. I went on to the next task of riveting the platenuts to the angles that attach to the battery box. I also I drilled out the rivets in the firewall for the location of the box and the master and starter relays. I reinstalled the firewall recess panel and cleco’d the angles to the firewall. I then positioned the battery box flush to the firewall and marked and drilled some of the holes through the angles into the box. Once all the holes in the box were drilled I had to dimple the inside of the box. The yoke I have on my squeezer would not reach a couple of the holes on each side of the box so I used my # 40 pop dimple dies to do those. I don’t have a #30 pop dimpler. I have the small head NAS rivets that have the same shank size as the # 30 rivets but the small head will fit in a # 40 dimple.